

Download our SSCE Study Guide Bundle
Act 4, Scene 11 Summary of Antony and Cleopatra
Act 4, Scene 11 of Antony and Cleopatra is an incredibly brief scene that takes place on another part of the hills and plains between the two camps. The scene consists entirely of a single, short directive issued by Octavius Caesar to his marching army. He orders his troops to remain “still by land” unless they are directly attacked (“But being charged”). Caesar explains the rationale for this defensive posture: he recognises that Antony has committed his strongest troops to the naval fleet, noting that “his best force / Is forth to man his galleys.” Caesar then commands his men to move “to the vales” to ensure they “hold our best advantage” as the battle unfolds.
Get the Full Analysis in PDF
Enjoying this breakdown? What you’re reading is just part of the full experience. The premium PDF edition brings everything together in one seamless, distraction-free document that has the background, setting, plot summary, act-to-act summary and analysis, dramatic devices, characters, and themes. If you’re studying seriously, this is the version you’ll want.


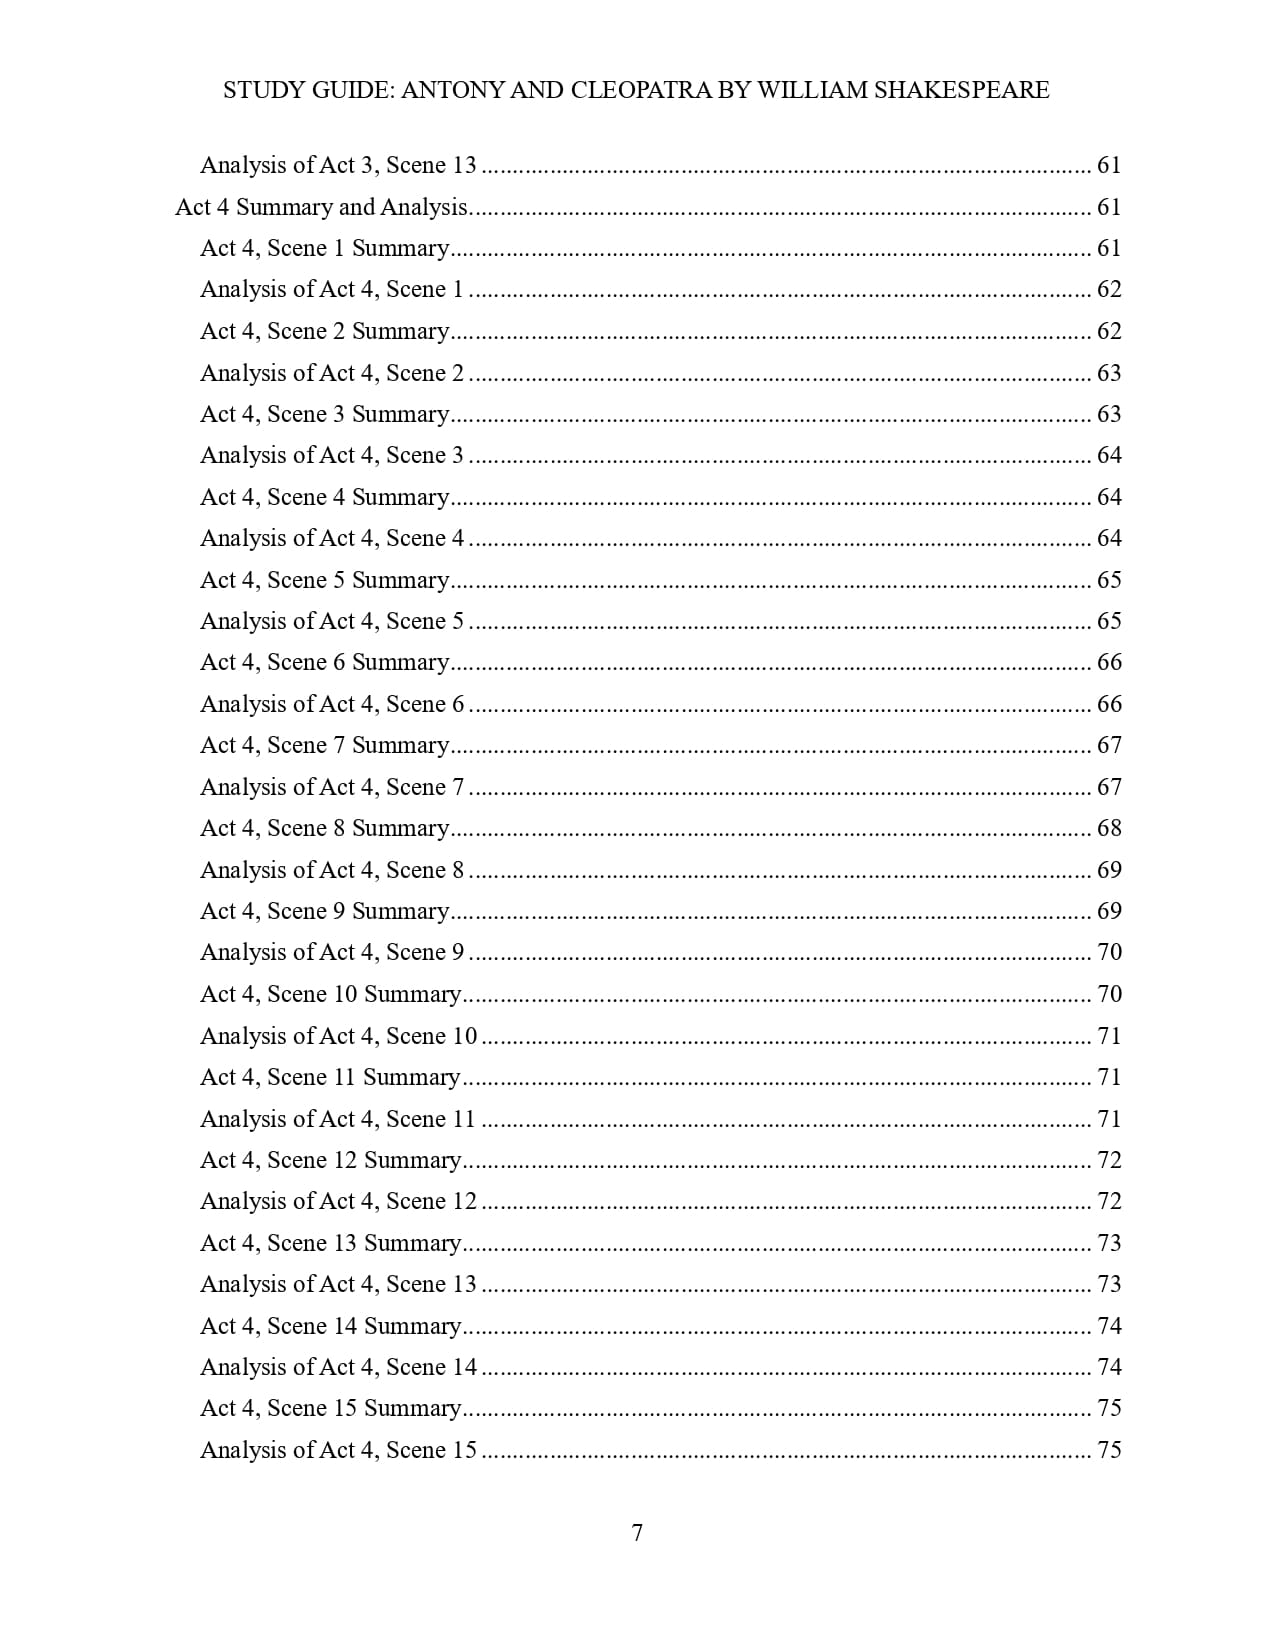
Analysis of Act 4, Scene 11
This fleeting scene encapsulates Caesar’s clinical and highly disciplined approach to warfare. Unlike Antony, who is driven by emotion and pride, Caesar refuses to be drawn into an unnecessary ground skirmish. He recognises that the decisive conflict will happen at sea and strategically positions his men defensively in the valleys to maintain their tactical superiority.
When placed immediately after Act 4, Scene 10, this scene draws a sharp contrast between the two generals. In the previous scene, Antony indulged in hyperbolic boasts about fighting “i’ the fire or i’ the air” and carelessly positioned his foot soldiers on a hill merely to watch the naval battle. Caesar, by contrast, gives a cold, practical order designed exclusively to secure his “best advantage.”
Shakespeare continues to utilise these very short, rapid-fire scenes (much like in Act 3) to quickly cut between the rival commanders. This cinematic pacing builds intense anticipation and accelerates the play directly towards Antony’s final, catastrophic defeat at sea, which immediately follows this moment.
Related:
- Act 4, Scene 1 Summary and Analysis of Antony and Cleopatra
- Act 4, Scene 2 Summary and Analysis of Antony and Cleopatra
- Act 4, Scene 3 Summary and Analysis of Antony and Cleopatra
- Act 4, Scene 4 Summary and Analysis of Antony and Cleopatra
- Act 4, Scene 5 Summary and Analysis of Antony and Cleopatra
- Act 4, Scene 6 Summary and Analysis of Antony and Cleopatra
- Act 4, Scene 7 Summary and Analysis of Antony and Cleopatra
- Act 4, Scene 8 Summary and Analysis of Antony and Cleopatra
- Act 4, Scene 9 Summary and Analysis of Antony and Cleopatra
- Act 4, Scene 10 Summary and Analysis of Antony and Cleopatra
- Act 4, Scene 12 Summary and Analysis of Antony and Cleopatra
- Act 4, Scene 13 Summary and Analysis of Antony and Cleopatra
- Act 4, Scene 14 Summary and Analysis of Antony and Cleopatra
- Act 4, Scene 15 Summary and Analysis of Antony and Cleopatra
Receive Literary Updates through our Social Media Channels:
- WhatsApp: Literature PADI or Literature-in-English with LP
- Telegram: Literature PADI
- YouTube: @literaturepadi
- Facebook: Literature PADI


